Packaging and Releasing
Once your world is cleaned up and pruned, it is ready to be compiled.
To start, add in your map.xml file. Then, add in your map.png file.
Below is an image of what your map folder should look like:

The Map XML File
The map.xml file is the XML you coded for your map.
This file is essential when it comes to having your map loaded and tested.
Take note of the following coding guidelines when creating your map.xml file:
- Verify there are no tabs in the XML — 4 spaces only.
- Verify the main map element and its main elements are not indented.
- Follow Semantic Versioning when deciding the map version.
- Bump the map version if gameplay has changed.
- Validate the XML to make sure it does not have any syntax errors.
The Map Image
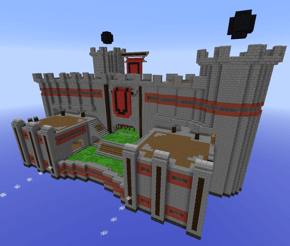
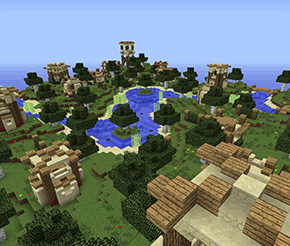
The map.png file displays the image of your map.
The standard resolution for these pictures is 290x246.
This image should contain a general overview of the map's playing area.
You should use the default resource pack without shaders.
Image Example


Source: Totally War II by Lyzak (left) and Rage Quit by Plastix & McYukon (right)
Compressing the folder to a ZIP file
Before you upload the map, you must compress the folder to a .zip format.
Do not compress to a .rar or any other format.
To compress a folder:
- Windows 11: Right Click > Compress to ZIP File
- Windows 10 and older: Right Click > Send To > Compressed (zipped) Folder
- macOS: Right Click > Compress
Uploading the map
To upload the map, we recommend using MediaFire, Dropbox, or creating a GitHub repository. You can also upload your map's XML file to GitHub Gist, Pastebin, or one of the many alternatives available online. Additionally, follow any instructions from the Minecraft network of your choice if you wish to submit a map to them.