Setting Up a Server
Setting up a local Minecraft server loaded with PGM is one of the best ways to test your map without disruption and allows for greater experimentation. Additionally, being able to test maps before submitting to a Minecraft network of your choice means that you will be able to catch mistakes early and speed up the map submission process.
This guide is divided into three most commonly used operating systems. Please keep in mind that some steps may differ or may not apply to your system. If you have any questions or need assistance, please visit our Discord server.
Windows
This guide uses Windows 11, however, the same process will work on Windows 10 and older.
Installing Java
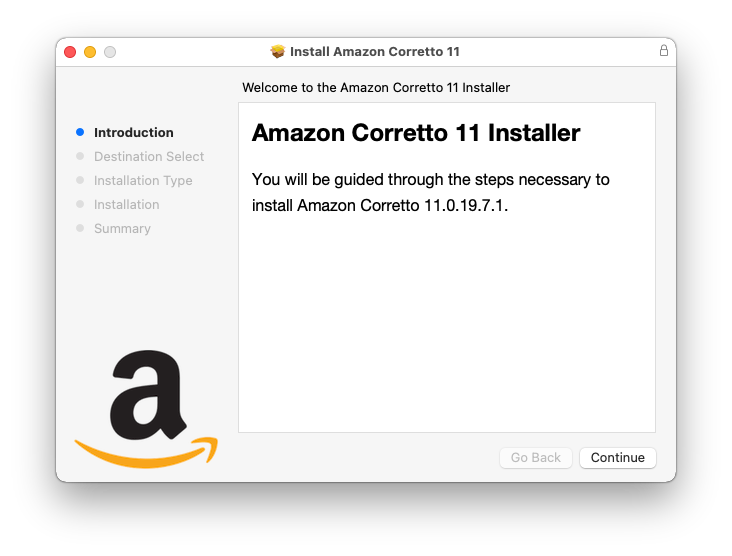
We recommend using Java 25. For this guide, we will be using Amazon Corretto. However, you may choose to use OpenJDK or Eclipse Adoptium instead. If you already have Java installed, you may skip this step.
Downloading the Server Software
- Classic (1.8)
- Modern (1.21+)
Get the latest version of SportPaper from the Downloads page.
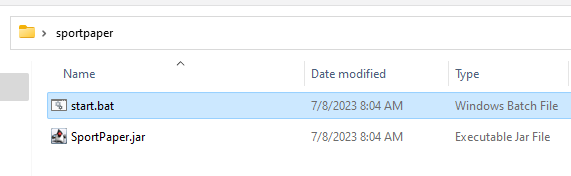
Once the download is done, you must rename the file and put SportPaper.jar inside an empty folder.
Get the latest stable version of Paper from PaperMC website.
Once the download is done, you must rename the file and put paper.jar inside an empty folder.
Next, you must create a Batch file to be able to start your server and have access to its console.
Start by opening your preferred text editor, copy and paste the following example below, and save the file as start.bat.
You must always double-click the start.bat file to launch the server, not the .jar file.
By default, Windows will hide file extensions.
Make sure to enable file extensions by clicking View, Show, and selecting File name extensions.
Also double-check that you did not accidentally save start.bat as a text file with the name start.bat.txt,
otherwise you will not be able to start the server!
@ECHO OFF
TITLE My Server
java -Xms128M -Xmx2G -Dterminal.jline=false -Dterminal.ansi=true -jar SportPaper.jar nogui
PAUSE
Downloading PGM
You can download a copy of the latest version of PGM from the Downloads page.
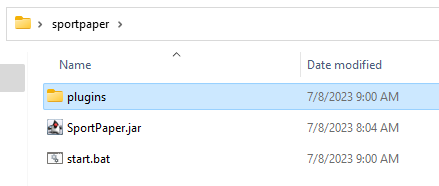
Once the download is done, you must put PGM.jar inside the plugins folder (create if it does not exist), which can be found in the folder that contains your server .jar file.
Starting the Server
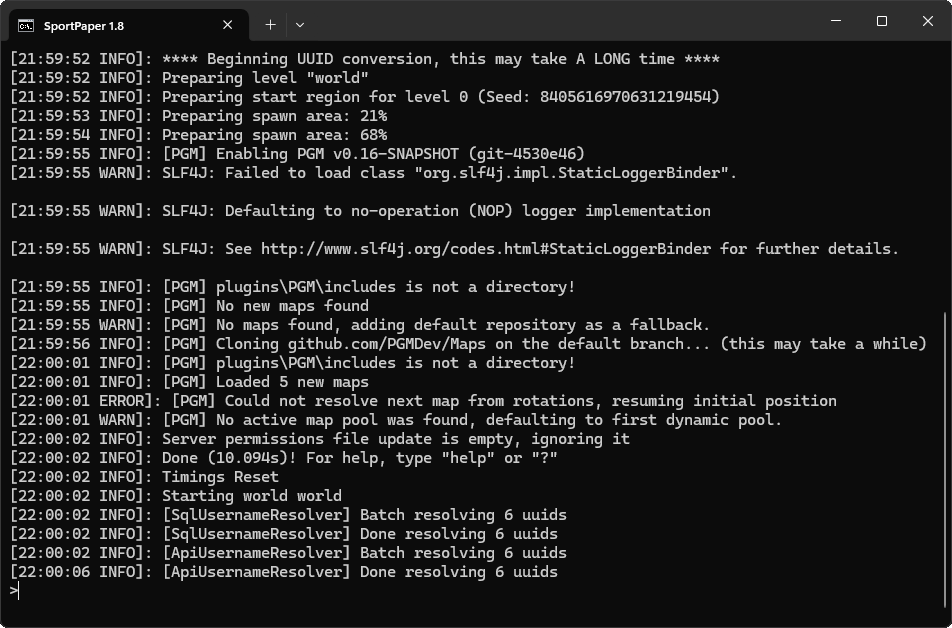
Once you are done with the initial setup, you can double-click start.bat to let the server create the necessary files for Minecraft and PGM.
You can now join the server from your Minecraft client at localhost or 127.0.0.1:25565.
Also see Additional Setup if you would like to make the most use out of your newly-created server.
macOS
This guide uses macOS 14 (Sonoma). Generally speaking, the process should be the same for recent versions of macOS, however, you may need to proceed differently if you are using an older version of macOS.
Installing Java
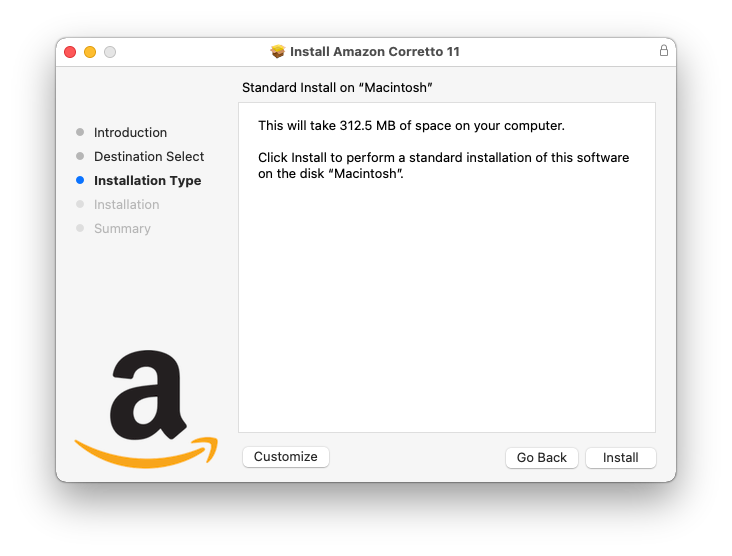
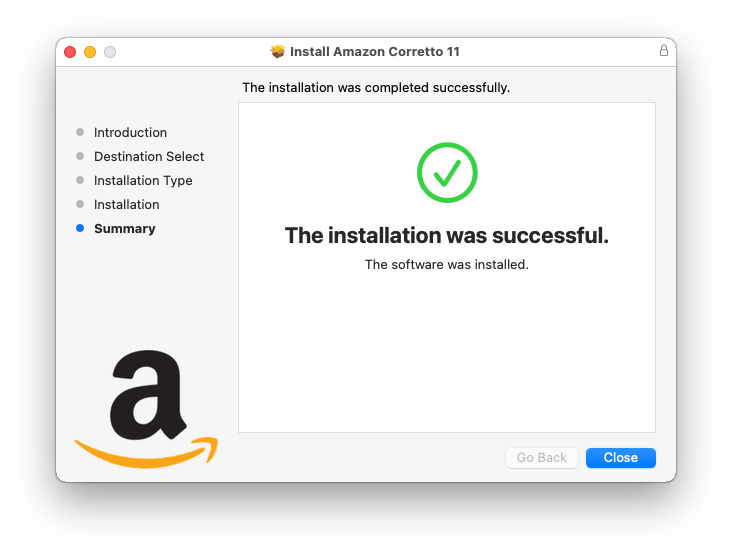
We recommend using Java 25. For this guide, we will be using Amazon Corretto. However, you may choose to use OpenJDK or Eclipse Adoptium instead. If you already have Java installed, you may skip this step.
Downloading the Server Software
- Classic (1.8)
- Modern (1.21+)
Get the latest version of SportPaper from the Downloads page.
Once the download is done, you must rename the file and put SportPaper.jar inside an empty folder.
Get the latest stable version of Paper from PaperMC website.
Once the download is done, you must rename the file and put paper.jar inside an empty folder.
Next, you must create a Terminal shell script file to be able to start your server and have access to its console.
Start by opening your preferred text editor, copy and paste the following example below, and save the file as start.command.
#!/bin/sh

cd "$( dirname "$0" )"
java -Xms128M -Xmx2G -Dterminal.jline=false -Dterminal.ansi=true -jar SportPaper.jar nogui

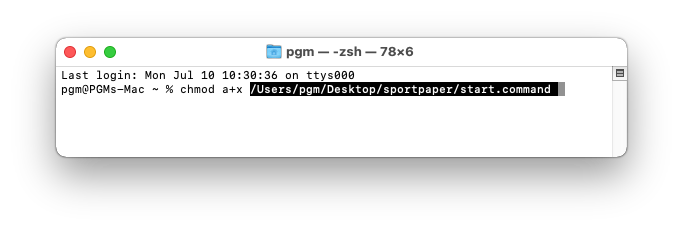
You also need to mark the script file as executable. Start by opening Terminal, type the following command below (but do not press Enter yet) and drag the file into the window. The file path will appear and highlight itself once this is done, then you can press Enter.
chmod a+x <path to your start.command file>
You must always double-click the start.command file to launch the server, not the .jar file.
Downloading PGM
You can download a copy of the latest version of PGM from the Downloads page.
Once the download is done, you must put PGM.jar inside the plugins folder (create if it does not exist), which can be found in the folder that contains the SportPaper.jar file.

Starting the Server
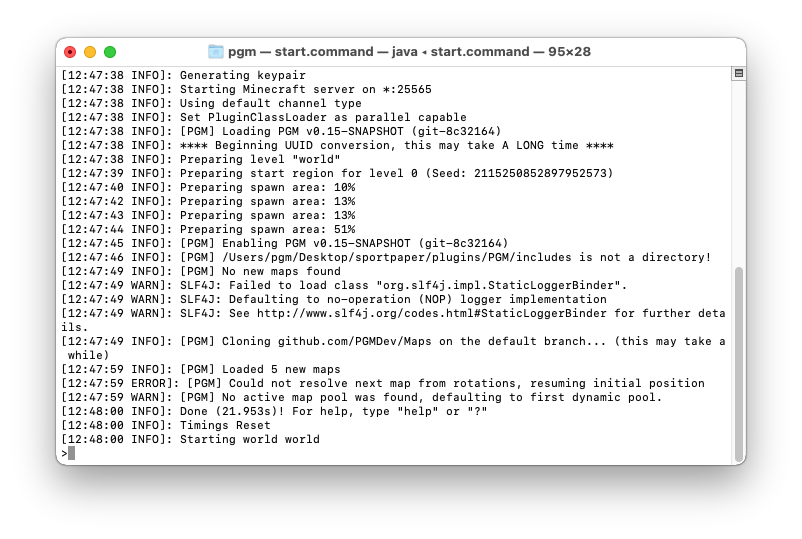
Once you are done with the initial setup, you can double-click start.command to let SportPaper create the necessary files for Minecraft and PGM.
You can now join the server from your Minecraft client at localhost or 127.0.0.1:25565.
Also see Additional Setup if you would like to make the most use out of your newly-created server.
Linux
This guide uses commands that are available for Debian-based distributions. Please keep in mind that the following process may differ depending on your distribution. If necessary, consult your distribution's documentation or user manual. Otherwise, we trust that you know what you are doing.
Installing Java
We recommend using Java 25. For this guide, we will be using OpenJDK. However, you may choose to use Amazon Corretto or Eclipse Adoptium instead. If you already have Java installed, you may skip this step.
sudo apt update && sudo apt install openjdk-25-jdk
Downloading the Server Software
- Classic (1.8)
- Modern (1.21+)
Get the latest version of SportPaper from the Downloads page.
Once the download is done, you must rename the file and put SportPaper.jar inside an empty folder.
Get the latest stable version of Paper from PaperMC website.
Once the download is done, you must rename the file and put paper.jar inside an empty folder.
Next, you must create a shell script file to be able to start your server and have access to its console.
Start by opening your preferred text editor, copy and paste the following example below, and save the file as start.sh.
#!/bin/sh

java -Xms128M -Xmx2G -Dterminal.jline=false -Dterminal.ansi=true -jar SportPaper.jar nogui
You also need to mark the script file as executable. Start by opening your terminal in the server's directory and typing the following command below.
sudo chmod +x start.sh
You must always execute from start.sh to launch the server, not the .jar file.
Downloading PGM
You can download a copy of the latest version of PGM from the Downloads page.
Once the download is done, you must put PGM.jar inside the plugins folder (create if it does not exist), which can be found in the folder that contains the SportPaper.jar file.
Starting the Server
Once you are done with the initial setup, you can launch from your terminal (./start.sh) to let SportPaper create the necessary files for Minecraft and PGM.
You can now join the server from your Minecraft client at localhost or 127.0.0.1:25565.
Also see Additional Setup if you would like to make the most use out of your newly-created server.
Additional Setup
Configure the Server Software
- Classic (1.8)
- Modern (1.21+)
Using your text editor of choice, you may edit server.properties and sportpaper.yml. We recommend changing the following options below to these values:
announce-player-achievements=false
generate-structures=false
spigot:
  # Forcibly disable vanilla Minecraft achievements.
  stats:
    disable-saving: true
    forced-stats:
      achievement:
        openInventory: 1
  world-settings:
    anti-xray:
      enabled: false # Helps with reducing lag; public servers should utilize an anti-cheat plugin.
paper:
  settings:
    empty-server-suspend: P100D # Prevent the server from immediately suspending itself due to inactivity.
  world-settings:
    fix-cannons: true # Stops ignited TNT from moving in flowing water. Recommended when making maps that involves TNT.
    game-mechanics:
      disable-chest-cat-detection: true # Helps with reducing lag.
    optimize-explosions: true # Recommended when making maps that involves TNT.
Using your text editor of choice, you may edit spigot.yml and /config/paper-world-defaults.yml. We recommend changing the following options below to these values:
# Forcibly disable vanilla Minecraft advancements.
advancements:
  disable-saving: true
  disabled:
  - '*'
anticheat:
  anti-xray:
    enabled: false # Helps with reducing lag; public servers should utilize an anti-cheat plugin.
entities:
  behavior:
    disable-chest-cat-detection: true # Helps with reducing lag.
environment:
  optimize-explosions: true # Recommended when making maps that involves TNT.
fixes:
  prevent-tnt-from-moving-in-water: true # Stops ignited TNT from moving in flowing water. Recommended when making maps that involves TNT.
Configure PGM
PGM will load with five default maps out of the box. You are expected to configure the plugin before you can begin using additional maps. We encourage you to understand and modify PGM's config to your liking, similarly to what we've done below:
map:
  folders:
    # List of folders to load maps.
    # You can add multiple folders from different sources.
    - "local-maps" # Loads maps from a folder named "local-maps" located in your server's directory.

  repositories:
    # List of git repositories to load maps.
    # When using multiple GitHub repositories hosted by PGM networks, beware of duplicate maps.
     - uri: "https://github.com/PGMDev/Maps"
       path: "sample-github-maps"

# Experimental features that are not yet stable.
experiments:
  # Set to "true" if you plan on creating and testing Payload maps.
  payload: true
Load and Configure WorldEdit
Some servers may choose to use WorldEdit.
- Classic (1.8)
- Modern (1.21+)
Since SportPaper is based on Minecraft 1.8 server software, the latest compatible version of WorldEdit is 6.1.9.
Once the download is done, place worldedit-bukkit-6.1.9.jar inside the plugins folder and restart the server. Afterwards, you can navigate to /plugins/WorldEdit/config.yml and change the following option below to this value:
# PGM will give observers with OP the "Rabbit's Foot" item, which allows them to edit the world during a match.
wand-item: 414
You can get the latest version of WorldEdit for Paper from Modrinth.
Once the download is done, place the WorldEdit jar inside the plugins folder and restart the server. Afterwards, you can navigate to /plugins/WorldEdit/config.yml and change the following option below to this value:
# PGM will give observers with OP the "Rabbit's Foot" item, which allows them to edit the world during a match.
wand-item: minecraft:rabbit_foot